 Download the OverPlay Windows client from the VPN setup page of their website by selecting “Setup –> VPN Setup” from the sites main menu. Once you get on this page, click on the Windows button. This will load a page that contains a link to the Windows download page. Click on the “Setup OverPlay VPN: Windows PC (OverPlay Client)” link to continue the setup. They also have a link on this page to configure the VPN with a custom version of OpenVPN which updates itself with their current server lists when it runs. Finally, this page also contains links to step-by-step setup and visual guides for manually configuring Windows with PPTP, L2TP, and OpenVPN.
Click on the “Setup OverPlay VPN: Windows PC (OverPlay Client)” link to continue the setup. On the next page, click on the “OverPlay Client for Windows can be downloaded here” link.
 Save the overplay_vpn_setup.exe file to your system and then run it to complete the installation of the OverPlay Windows Client to your computer. The install only takes a minute or so to complete. Once completed you will notice a new icon on your desktop like the one shown to the right. You can double click on the icon anytime you want to launch the app. The first time you enter the OverPlay Windows client you will be welcomed with the following screen:
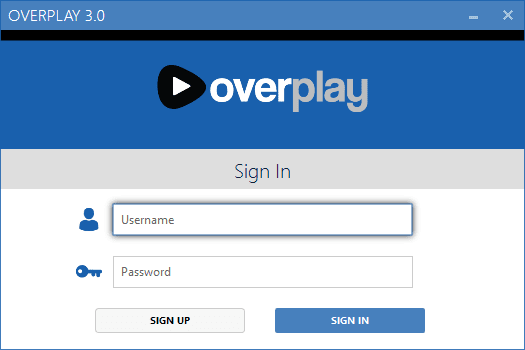
Clicking on the “Sign Up” button will take you to the OverPlay website to purchase an account. Assuming you already signed up using our discount, you will simply want to enter your “Username” and “Password” and then click on the “Sign In” button. The app will remember your password so you will not have to re-enter your credentials every time you connect to the OverPlay network. However, you do not have to stay logged in. Depending on your situation, you may want to log out when you’re done using OverPlay. It is very easy to do and we’ll show you exactly how in a moment. First let’s take a look at the home screen that will be displayed each time you open the OverPlay Windows client.
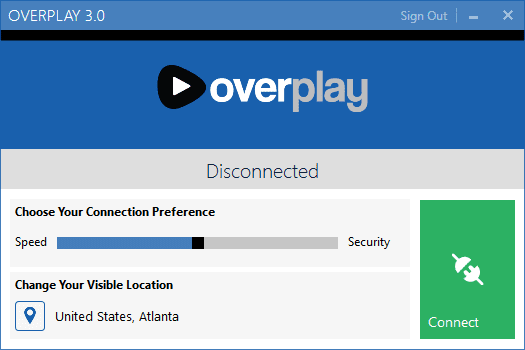
You can think of this as the home or connection screen for the app. This is the main screen you will use to connect to the OverPlay network. You have a few options on this screen. We will go review them in more detail in a moment but you do not have to change any of them. If you are happy with the server location listed in the “Change Your Visible Location” box then you can go ahead and click the green “Connect” button. The screen will change once you are connected to the server.
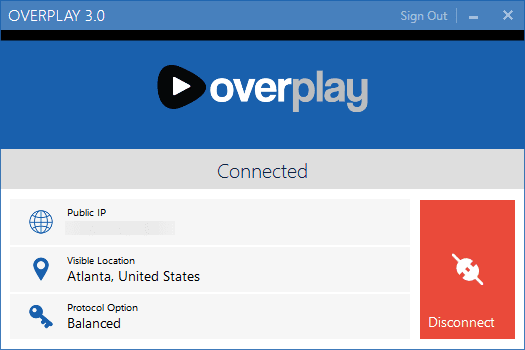
As you can see the client now shows that we are connected to a server in Atlanta, Georgia. We blurred out the IP address but when you connect OverPlay will provide you with a new virtual IP in the same location as the server. This will let you browse the Internet as if you were actually in that city. There isn’t much more to go over on this screen. You can simply click the “Disconnect” button when you are finished using the VPN. After that you can either click the “X” in the upper right hand corner to close the app or click “Sign Out” at the top if you do not want the client to remember your login details the next time you open it.
There are a few more options in the OverPlay client. For starters you need to be able to switch server location and the OverPlay team made it simple to do so. Look back up at our home screen image for a moment. The one with the big green “Connect” button. You will notice a pin icon next to United States, Atlanta in the “Change Your Visible Location” box. Clicking on the pin will bring up the server selection screen as shown below.
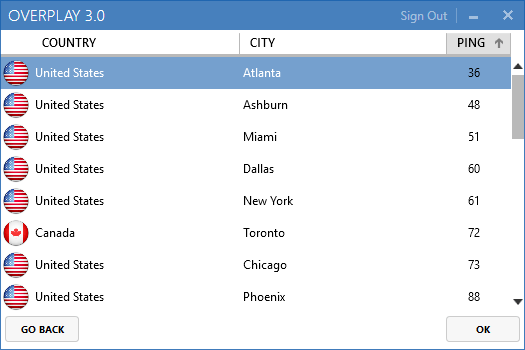
If you look closely at the image, you will notice that it shows the country, city, and ping for each server location. You can sort by any of the columns. One of our favorite features in the OverPlay client is that it pings all the servers for you. If you sort by ping, as we did above, you will be presented with the lowest ping times which will generally be the fastest servers based on your current location. Once you find the location you want to connect to, simply click on the name and then click on the “OK” button at the bottom of the screen. That will take you back to the home screen where you will click on the green “Connect” button to immediately establish a secure connection to your chosen server location.
There is one other client featureclient that we want to cover and that is the options you have in terms of encryption. It will be easier to explain by showing you the home screen one more time.

There is one more box on this screen that we have not covered yet. It is titled “Choose Your Connection Preference” and offers you a slider with three options that range from speed to security. They each encrypt your connection with OpenVPN so they are all secure. The difference is whether the client uses AES 256-bit or AES 128-bit encryption ciphers. We like to keep things as simple as possible so in short any of the three options will encrypt your data and help protect your privacy online. We prefer the “Balanced” setting which is in the middle of the slider shown above.
We wanted to see just how much impact each of the encryption preferences would have on speed so we connected to their server location in Atlanta using each of the three options and recorded our speed. This is far from a perfect experiment but it will give you some idea of what we experienced when switching between “Speed”, “Balanced”, and “Secure” in the app. Here’s a look at our speed for each of the three encryption levels.
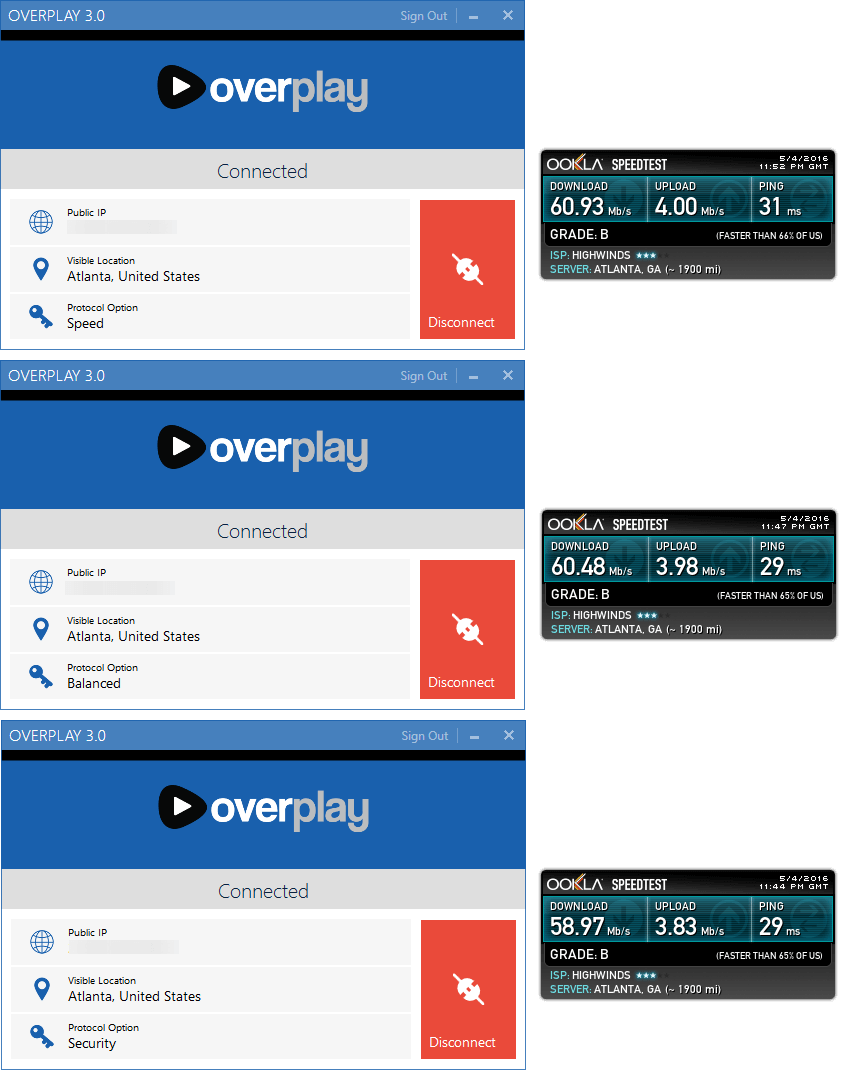
The “Speed” option was the fastest at 60.93 Mbps, with “Balanced” coming in at 60.48 Mbps, and “Security” still running at an impressive 58.97 Mbps. As you can see our speed did not change all that much between the protocol options. In fact it differed by less than 2 Mbps. It really depends on your ISP connection speed and what you plan to do while connected to the VPN. We recommend the “Balanced” setting for most users but you can test each setting to see which is best and switch between them anytime.
