 You can download the latest OverPlay Mac client release directly from their website. Start by visiting the VPN setup page of their website by selecting “Setup –> VPN Setup” from top menu. Once there click on the Mac OS X button. This will load the Mac OS X setup sub-page which contains a link to the client setup download page. They also have a link on this page to setup their VPN with a custom version of Tunnelblick which updates itself with their current server lists when it runs. This page also contains links to step-by-step setup and visual guides for manually configuring Mac OS X with PPTP, L2TP, and OpenVPN with Tunnelblick.
Click on the “Setup OverPlay VPN: Mac OS X (OverPlay Client)” link to continue the setup. On the next page, click on the “downloaded from the Mac App Store” link in the first step. This will bring up the app store for you to install the VPN software. You will need to enter your password to allow changes to your Mac. Once the installation has completed, you will find the Overplay VPN app in your launchpad and applications folder. Click the icon to open the Overplay client. Depending on your system settings, you may need to enter your password to allow changes to your Mac for the client to finish launching.
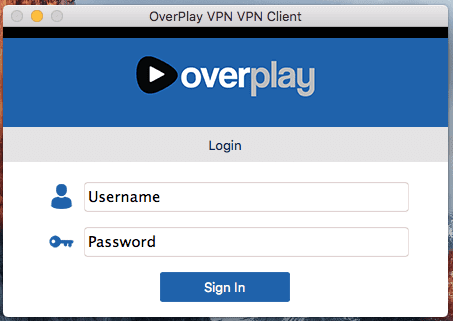
You will see a screen like the one shown below. This is the client login screen. Enter your “Username” and “Password” and then click on the “Sign In” button. The client will remember your credentials so you will not have to re-enter them every time you connect to the OverPlay network. You can log out after using the app if you do not want your login credentials saved.
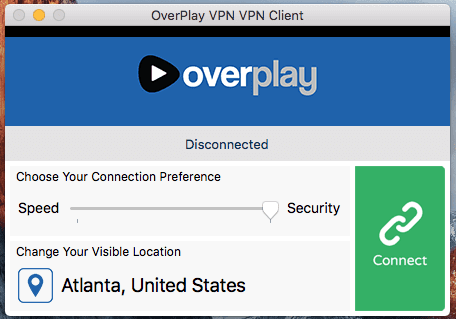
From here the client is very similar to it’s Windows counterpart. You can go ahead and connect to the default server location by clicking on the green “Connect” button. By default the app will run in “Secure” mode which uses OpenVPN with AES-256 encryption to secure your connection. You can also use the slider to change to either “Speed” or “Balanced” in the “Choose Your Connection Preferences” box. See our Windows section for more details on the differences. The OS X app defaults to “Secure” and our connection was fast so we did not test the other settings on Mac.
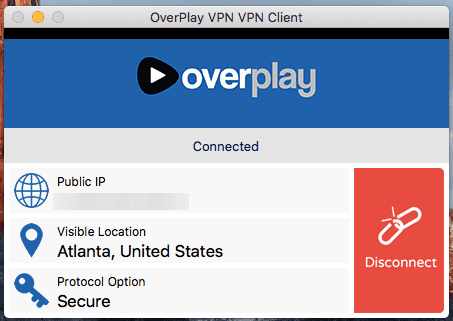
Once you click the green “Connect” button, the OverPlay client for Mac will quickly connect and display a new IP address from the server you are now connected to. When you are finished using the VPN simply click on the red “Disconnect” button shown below.
There is one more section of the Mac app that we would like to review before moving on and that is the server selection screen. If you click on the “Pin” next to the server location in the “Change Your Visible Location” box on the connect screen (the one with the green “Connect” button above) you will be presented with a screen like the one shown below. It will let you select any server location. Best of all it will display the ping value for each location. The lower the ping the better the performance in most situations. In our case the servers in Ashburn, Atlanta, and Miami are likely to offer the best speed. The screen scrolls to allow you to select any server location.

OverPlay’s client for Mac OS X has the same look and feel of their Windows normal client screen. It allows Mac users to connect and disconnect from their VPN severs by just selecting a location and clicking on the “Connect” button. It does not have many extra features but makes connecting to and disconnecting from their network as easy as possible. The only decision left to the user is connection preference and server location. Their Mac OS X client defaults to the OpenVPN protocol so you will always know your connection is secure when you are connected to their VPN network.