You can download the NordVPN custom software directly from Apple iTunes. We will be covering the iPhone app in our guide. They also have a version that works well for iPad. Those who prefer to manually configure iOS devices with OpenVPN, L2TP/IPsec, or PPTP will find setup guides on the NordVPN website.
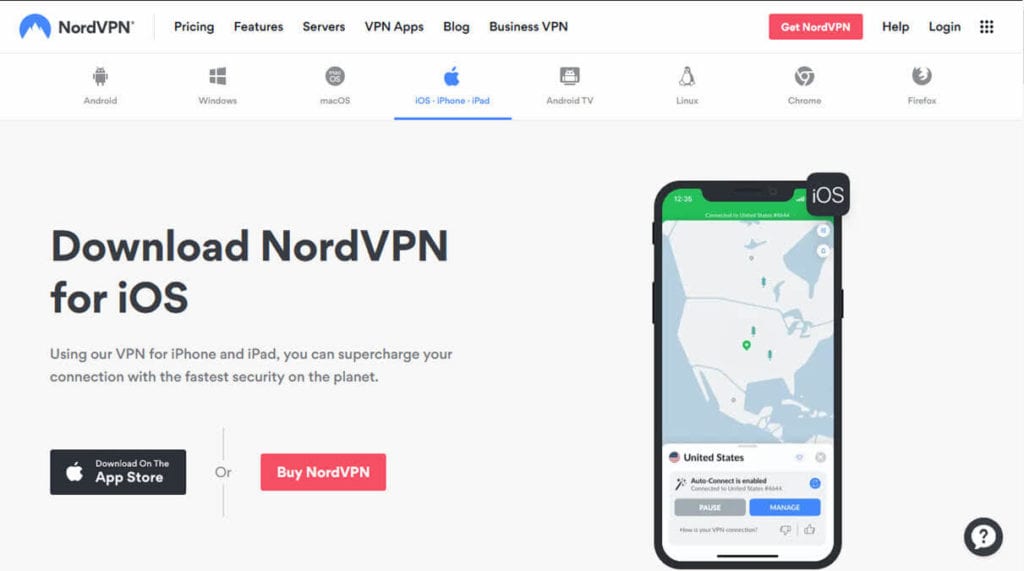
Start by visiting the NordVPN app page on Apple iTunes, where you can download and install the iOS app to your iPhone or iPad. The app requires iOS 8.3 or above. Once you have the app installed on your iOS device, you will need to launch it. When the app is launched for the first time, you will need to enter your NordVPN credentials. When you first open the app you will see a screen like the one on the left below. This screen has a link to create an account if you do not yet have one and a “Sign in” button. Tapping on the “Sign in” button will open a screen like the second one where you can enter your “Email/Username” and “Password”.
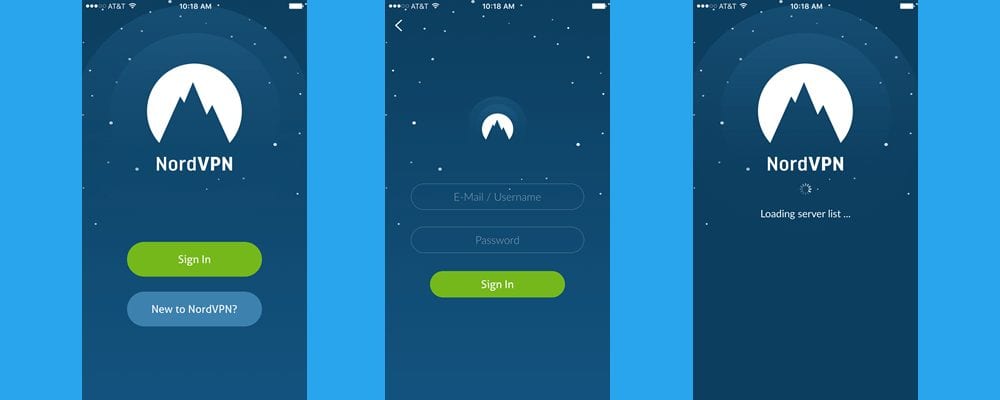
Once you have correctly entered your credentials, tap on the “Sign in” button to continue loading and you will see a screen similar to the last one above. Once this finishes loading, you will be on the server map screen as is shown in the screenshot on the left below. Tapping on the “Quick Connect” button will connect you to the fastest server in the country you are in. Doing this connected us to the United States as is shown in the second image below.
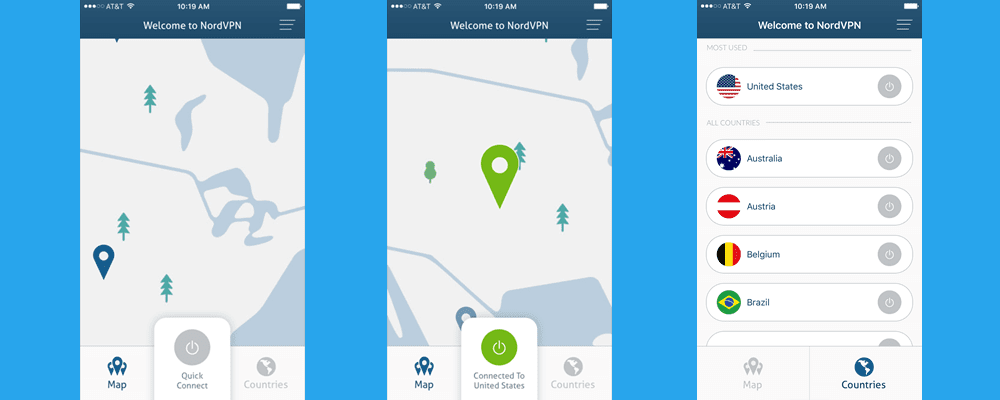
Tapping on the “Countries” button on the bottom-right of the screen will display the countries screen which shows your most recent connections, followed by a list of the countries on the NordVPN network in alphabetical order. This screen is shown in the last screenshot above. All that is necessary to connect to a VPN server from this screen is to tap on the connection switch to the right of a country name. We will examine connecting with the “Map” screen in more detail later in this review.
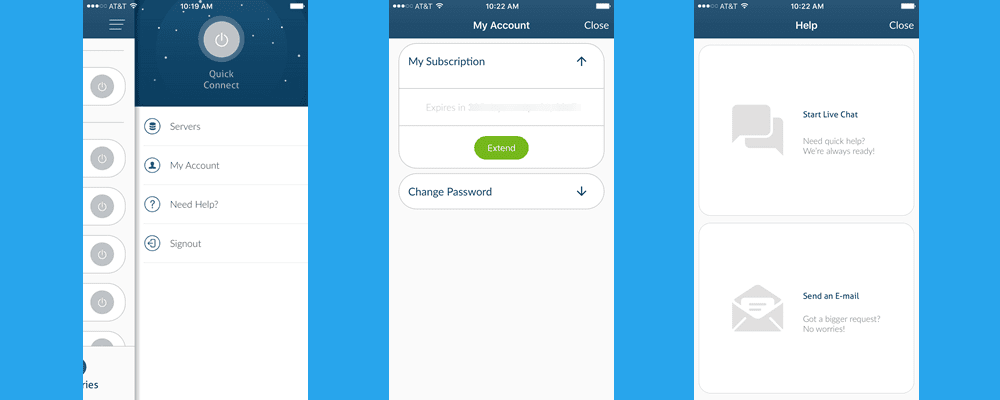
Now that we have examined how to connect to the NordVPN network with the “Quick Connect” button and the “Countries”, let us take a look at the iOS app menu. This can be accessed by tapping on the three horizontal bars in the upper right of the app as can be seen in the last image above. The menu consists of the following items:
- Servers – We will look at this screen in more detail in just a moment. For now just know that it will let you connect to a particular server in a country.
- My Account – This screen is shown in the middle screenshot below. It will let you extend your subscription or securely change your password on the NordVPN website.
- Need Help? – This is shown in the last screenshot below. It will let you open an online chat with a NordVPN representative or create an email ticket for more complex issues.
- Sign out – This will let you sign out of the iOS app but you will have to re-enter your credentials when you relaunch the app.
Now that we have looked at all of the menu items, let us take a closer look at “Servers”. The servers screen has two tabs: My favorites and Servers. “My Favorites” which is shown in the screenshot on the left below lists all of your favorite servers depicted by the white heart in the red circle. Tapping on one of these hearts will remove it from your favorites list. To connect to a server from your favorites, just tap on the switch beside it.
The second screenshot below shows the “Servers” tab which contains purposes for the VPN connection, followed by a list of countries that have VPN servers. These purposes include Anti-DDoS, Standard VPN servers, Ultra fast TV, and others.
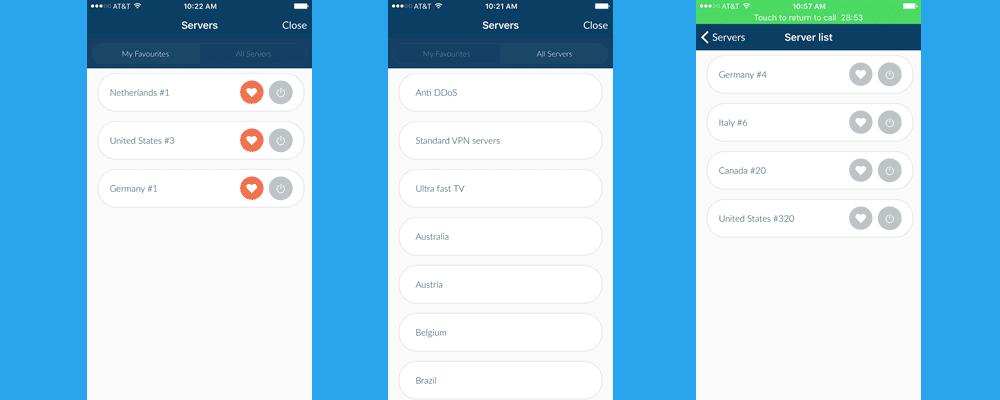
Tapping on one of these purposes/countries will open up the servers that can help you accomplish your goal. The third screenshot above shows the server list for Anti-DDoS expanded. From the server list, you can choose a favorite server for that purpose by tapping the heart in the grey circle beside it which will turn the circle red. You can also connect to a particular server from this screen by selecting the switch beside its name.
Remember when we said we would examine how to connect to a VPN server using the Map screen later. Before you can understand how to use the Map screen to connect to the NordVPN network, you must first understand what the Map screen is. This screen is a panoramic map view of the servers in the NordVPN network. You can slide in all directions and zoom in and out on this screen. NordVPN servers in each country are represented by a blue location pin in that country. That being said, we can now look at how to connect to a VPN server using the map. The first screenshot below illustrates this. Tapping on the France location pin will prompt you to “Connect” to it. Tapping on the “Yes” button will begin the connection process. The middle screen below shows a completed connection to a VPN server in France.
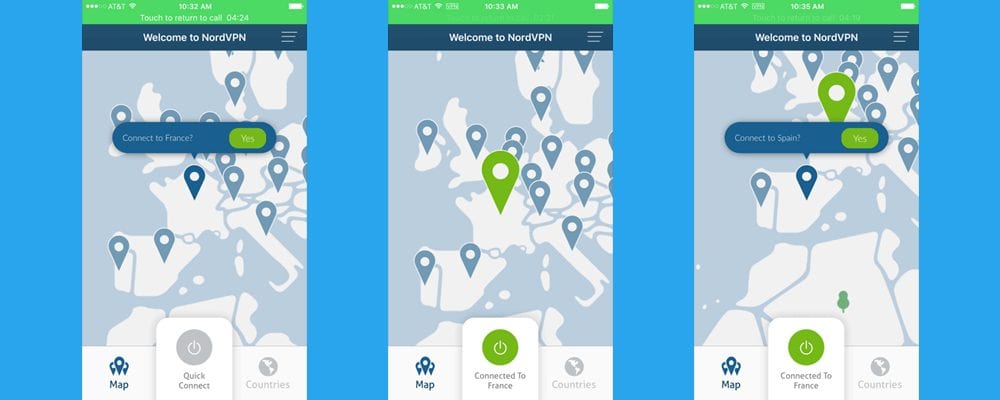
The last screen above illustrates how easy it is to change servers using the Map screen. Notice you are still connected to France. To switch to a VPN server in Spain , simply tap on the location pin in Spain and then tap on the “Yes” button to make the new connection. The software will disconnect your current VPN server and then connect you to one in Spain.
The NordVPN iOS app makes it easy for iPhone and iPad users to connect to their network. All that is necessary for you to connect to one of their VPN servers is just a couple of taps on the screen. Simply select a location on the map or server list and then tap on the connect button. If you want to just connect to the fastest server to you, you can simply tap the “Quick Connect” button. It could not be any easier. The new iOS app defaults to IKEv2. Because of its support for MOBIKE, this makes it an excellent protocol choice for multi-homed devices. It also supports multi-levels of security. NordVPN has implemented this with the latest security algorithms.